Chocolate Cream Snack Cake Bars (Homemade Délice)
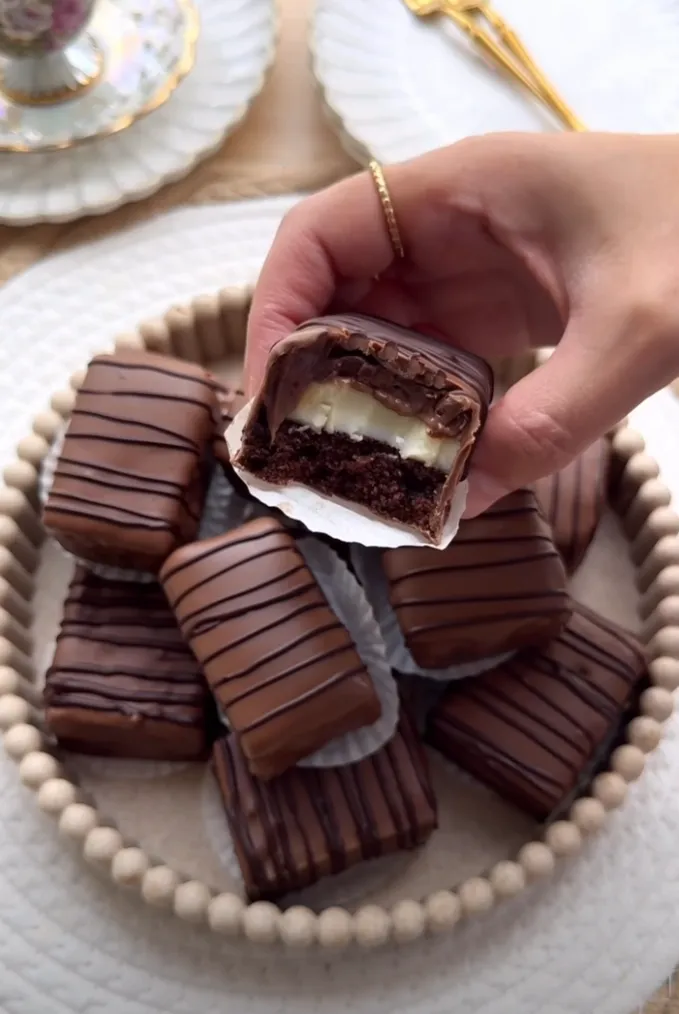
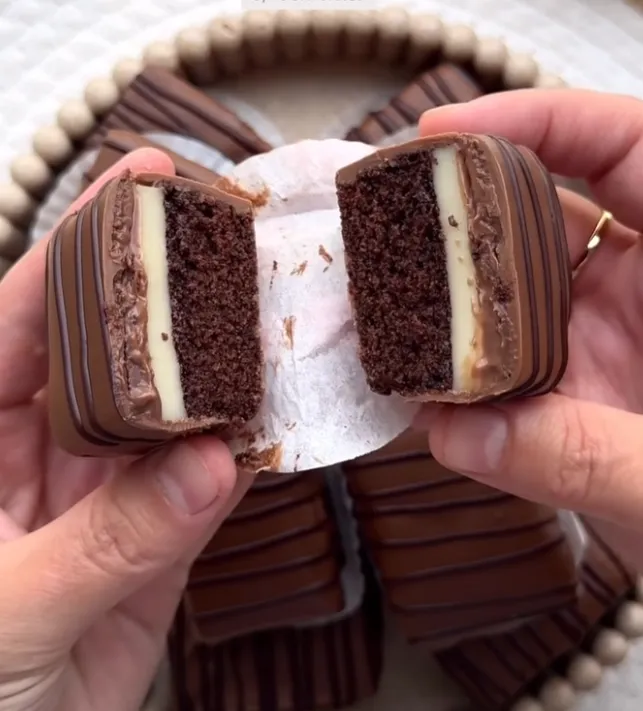
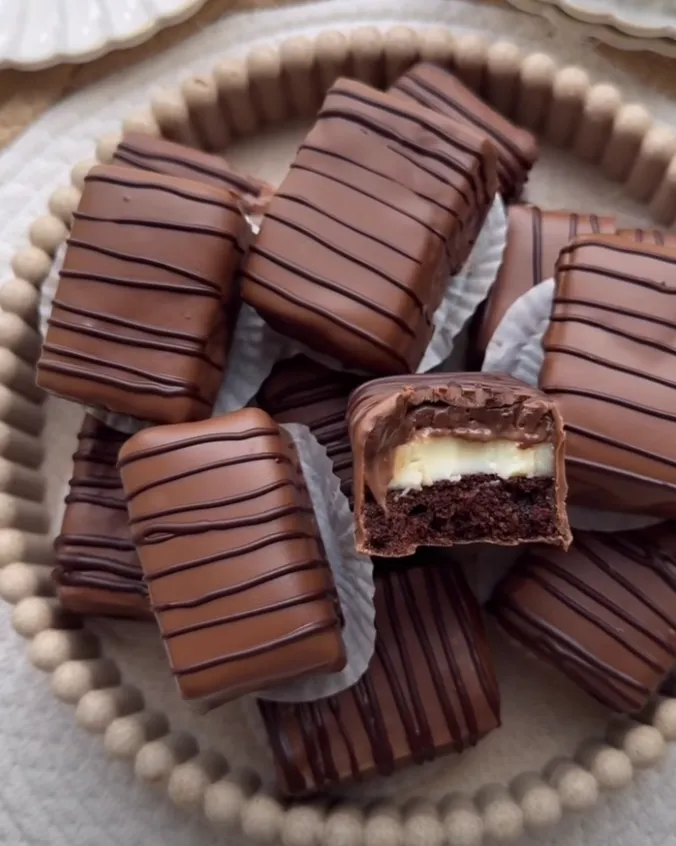
Homemade chocolate cream snack cake bars — a soft chocolate sponge, a cool milk-cream filling and a glossy milk-chocolate coating with dark chocolate stripes. A copycat of the boxed Kinder Délice you can make from scratch.
When my younger brother got the job offer that meant moving to another country, the whole house went quiet in that strange, proud, heartbroken way. We had three weeks left with him, and somewhere in the middle of all the paperwork and packing I asked what he wanted me to make before he left. He didn’t say a roast or a cake. He said the name of the little foil-wrapped chocolate snack cakes our mother used to slip into our school bags on test days — the ones with the soft chocolate sponge, the cool cream middle and the milk-chocolate shell that always melted a little on the walk to school.
So I spent an afternoon trying to rebuild them from memory in his honour: a thin chocolate sponge, a milk cream cooked on the stove the way our mother thickened custard, a layer of ganache, and then the fiddly, joyful job of dipping each bar in melted chocolate and drizzling it with dark stripes. He sat at the kitchen table “supervising,” which meant eating the trimmings, and when he bit into the first finished one he went quiet again — the good kind of quiet this time. He took a box of them to the airport. I still make them whenever I miss him.
That’s the thing about these bars: they taste like a packed lunch and a small act of love at the same time. Homemade, they’re so much better than the boxed ones — a fresher sponge, a real milk cream instead of a paste, and a proper chocolate coating. They look like a fancy patisserie project but they’re really just patient, simple steps stacked on top of each other.
Why you’ll love these snack cake bars
A real copycat of the boxed favourite
Soft chocolate sponge, cool milk cream and a milk-chocolate shell with dark stripes — every part of the snack cake you remember, made from scratch with no strange ingredients.
Better than shop-bought
A fresh-baked sponge and a proper cooked cream filling beat anything from a wrapper, and you get far more chocolate on every bar.
Patient, not difficult
There’s no special equipment and nothing tricky — just bake, cook, layer, chill and dip. The fridge does most of the hard work for you.
Ingredients
Everything splits into three easy parts — a quick chocolate sponge, a stovetop milk cream, and the chocolate for coating. Here’s the full line-up:
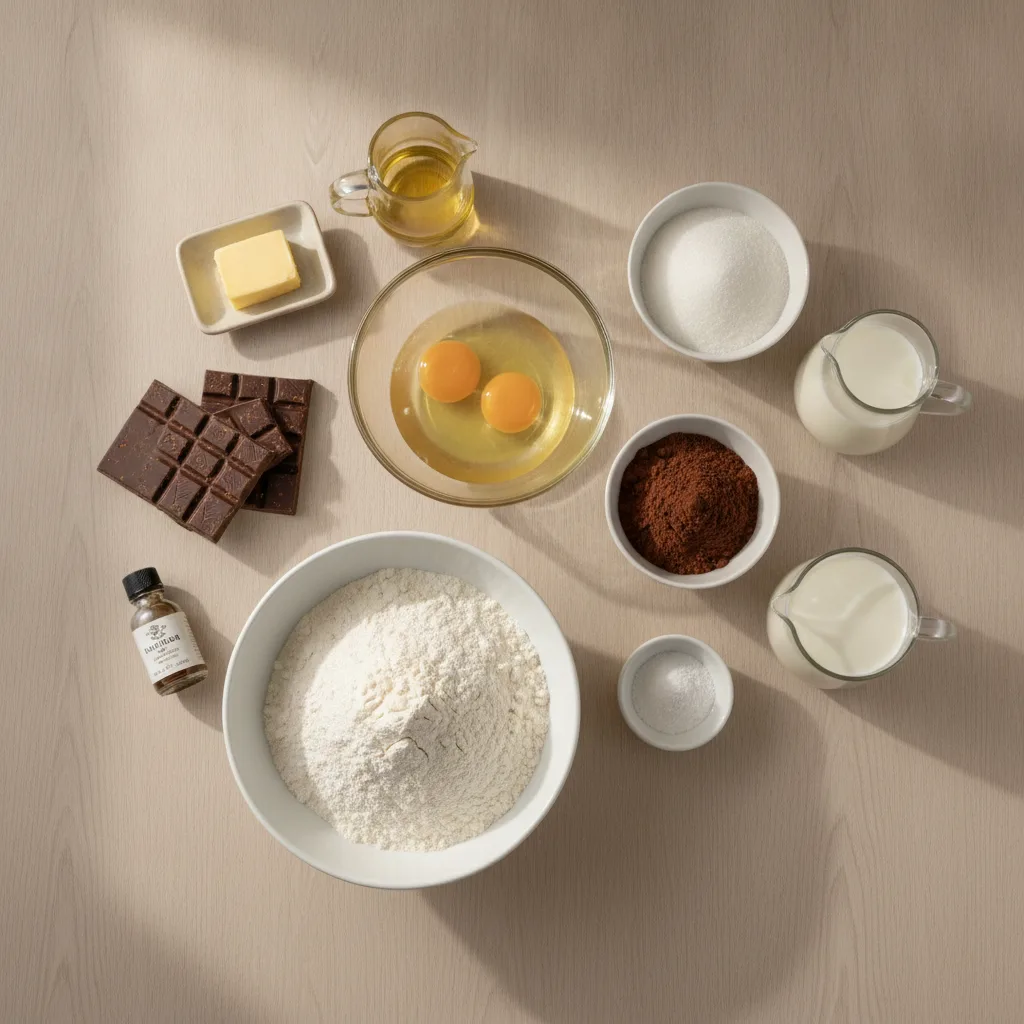
For the chocolate sponge: eggs, sugar, oil, milk, flour, cocoa, baking powder, baking soda and a pinch of salt.
For the milk cream filling: milk, heavy cream, sugar, cornflour, vanilla and butter.
For the coating: milk chocolate and a little cream for the ganache, more milk chocolate for dipping, and dark chocolate for the drizzle.
How to make chocolate cream snack cake bars
-
Heat the oven and line the tin. Set the oven to 180°C / 350°F and line a square 20 cm (8-inch) tin with parchment, leaving an overhang to lift the slab out later.
-
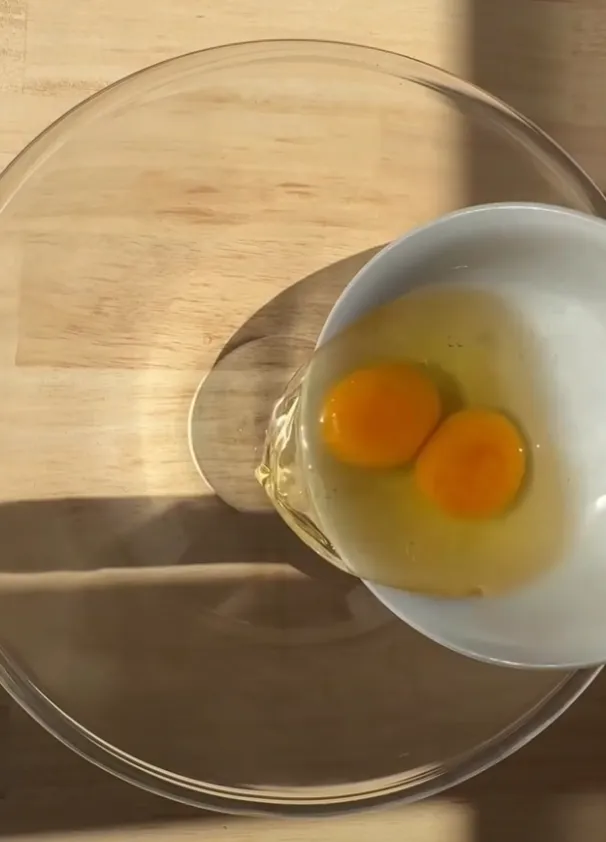
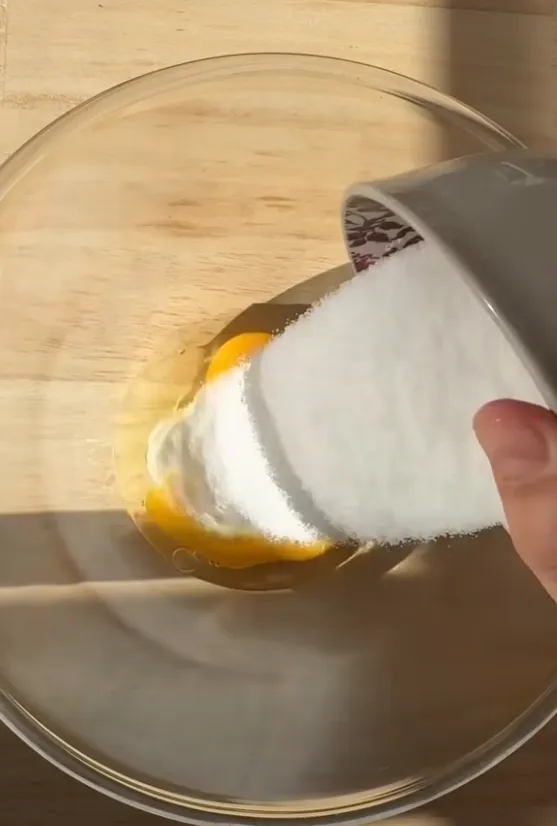
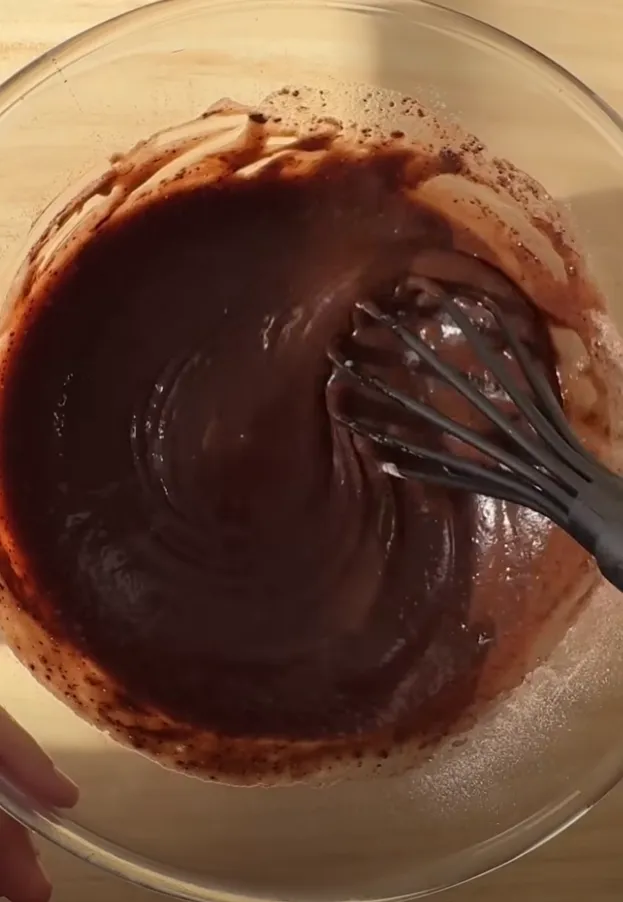
Whisk the eggs and sugar. Beat the eggs and sugar together until pale, thick and foamy — about 2–3 minutes.
-
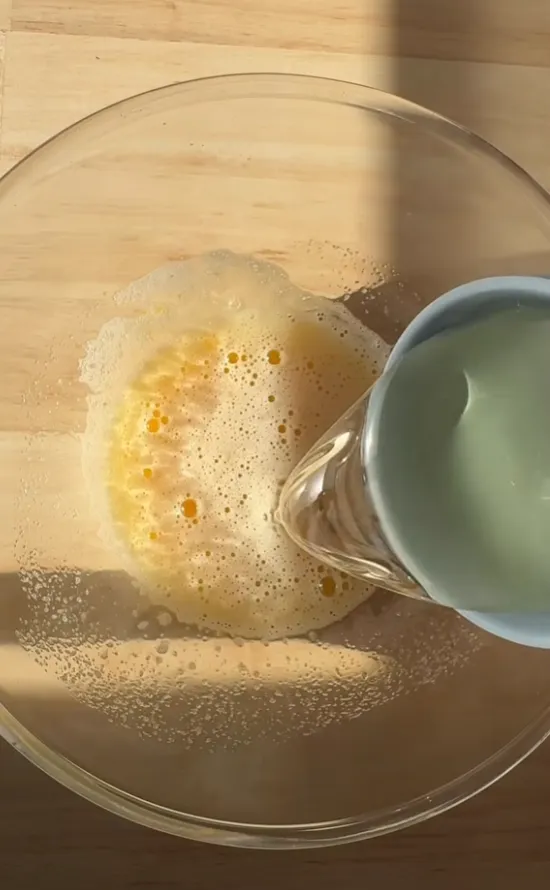
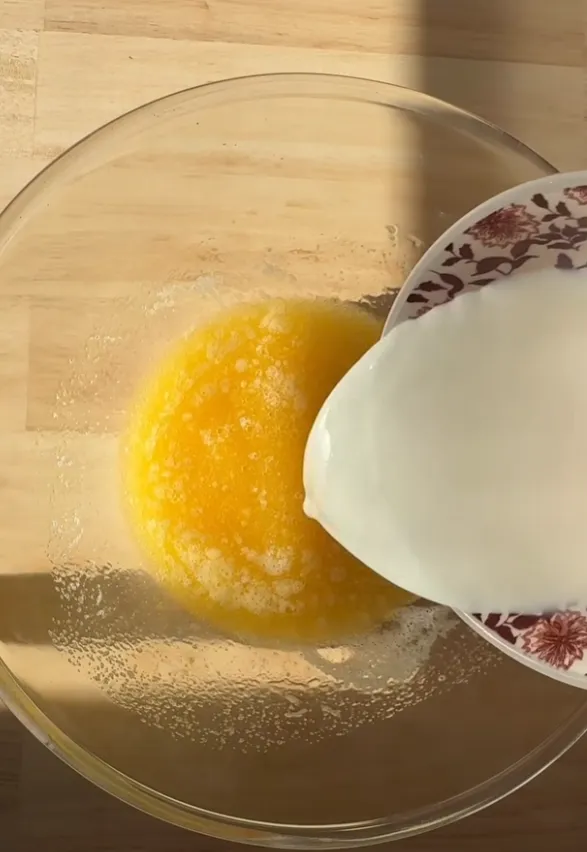
Add the oil and milk. Whisk in the oil until smooth, then the milk, until the mixture is loose and combined.
-
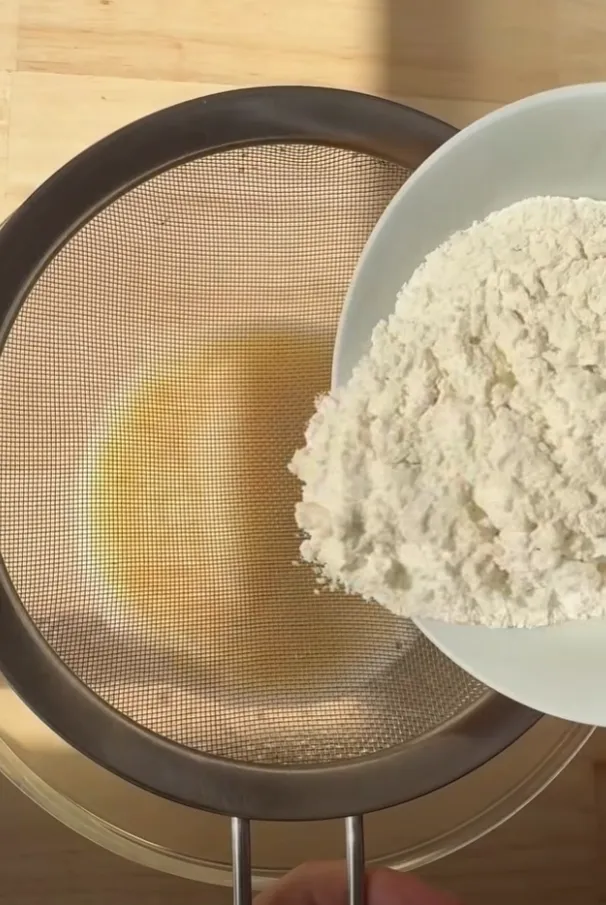
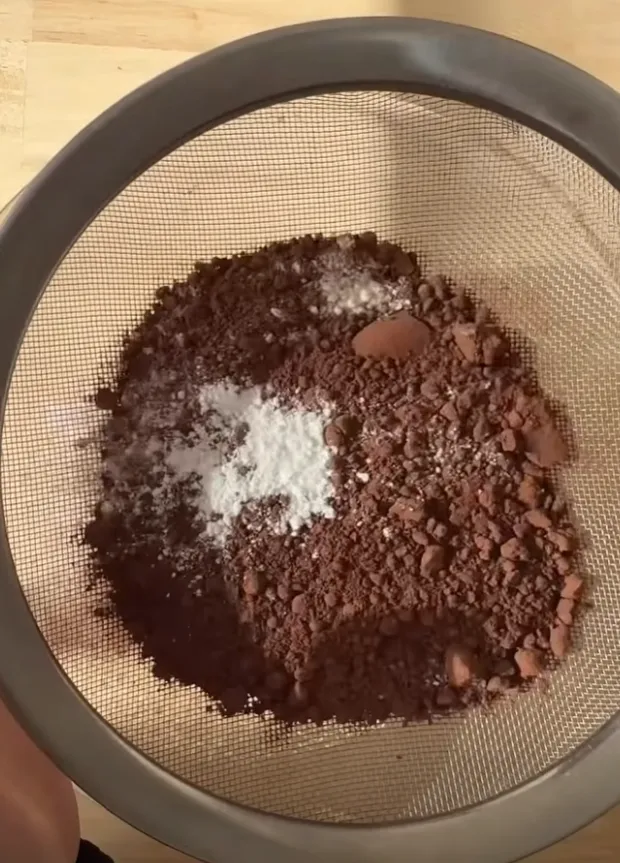
Sift in the dry ingredients. Sift in the flour, then the cocoa, baking powder, baking soda and a pinch of salt, so there are no lumps.
-
Whisk to a glossy batter. Whisk until you have a smooth, glossy chocolate batter with no streaks of flour.
-
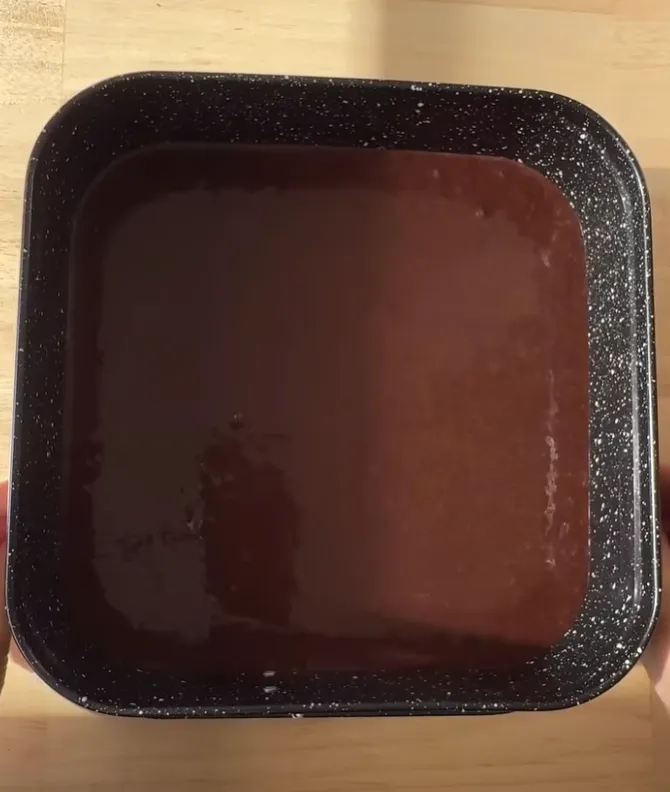
Bake the sponge. Pour into the lined tin, level the top, and bake for 15–18 minutes, until set and springy to the touch. Cool completely in the tin.
-
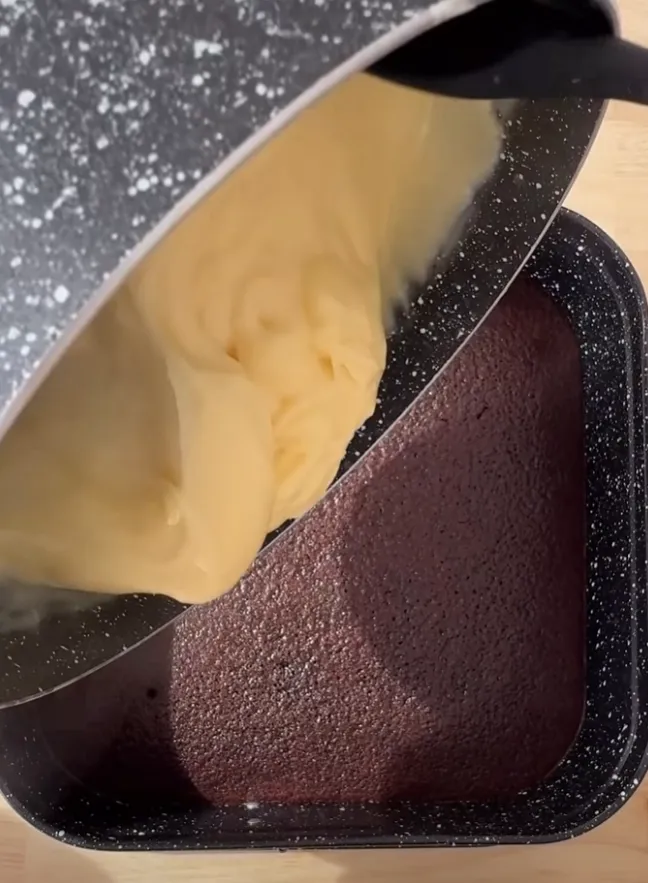
Cook the milk cream. Whisk the milk, cream, sugar and cornflour together in a saucepan, then cook over medium heat, stirring constantly, until it thickens to a soft pudding. Take it off the heat and stir in the vanilla and butter.
-
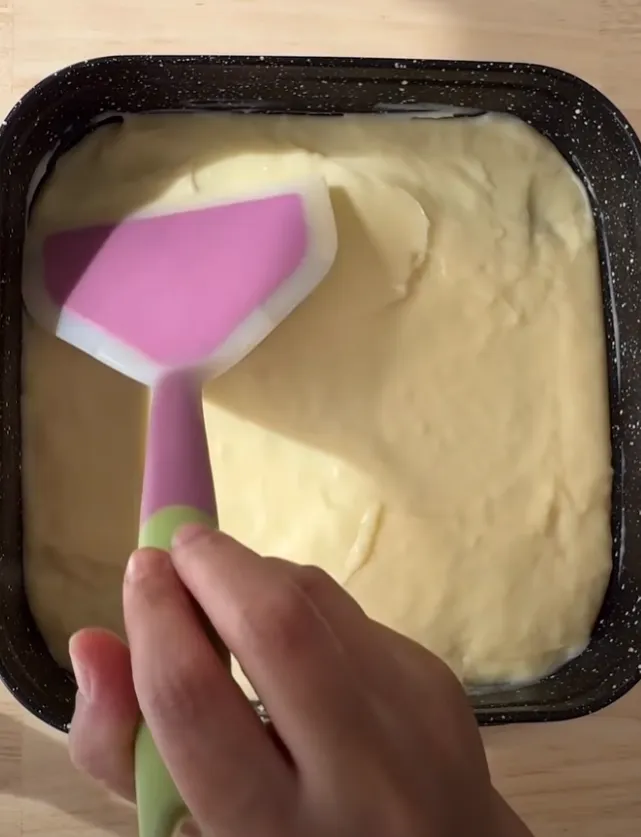
Add the cream layer. Pour the warm milk cream over the cooled sponge and spread it into an even layer.
-
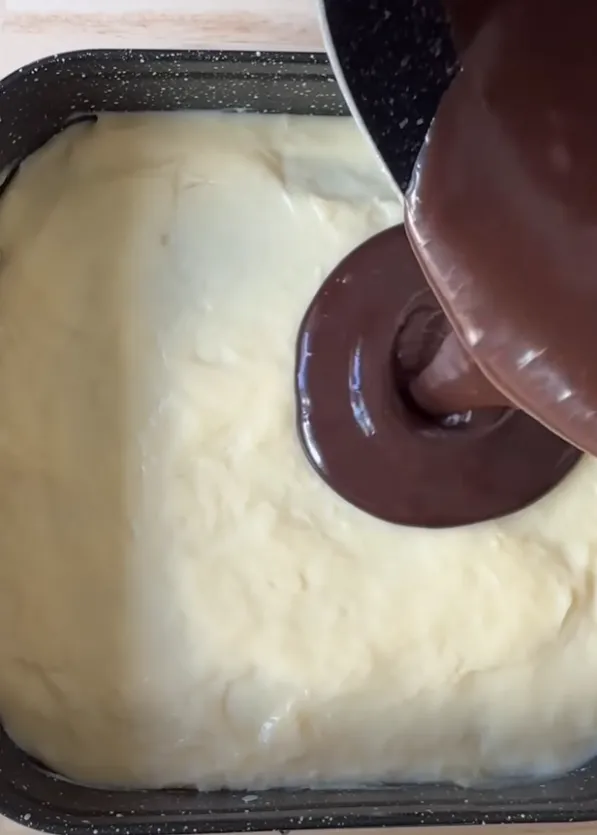
Pour over the ganache. Warm the 1/4 cup cream and pour it over the 150 g chopped milk chocolate, stir smooth, then pour over the cream layer and spread level.
-
Chill until firm. Refrigerate the whole tin for at least 3–4 hours, or overnight, until completely set.
-
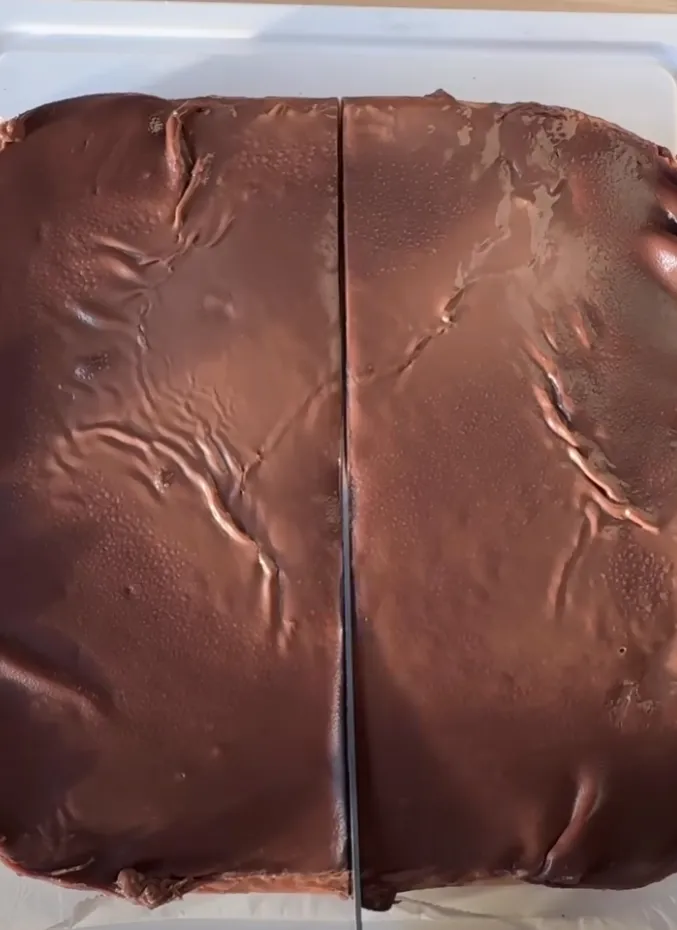
Cut into bars. Lift the slab out using the parchment, trim the edges, and cut into neat rectangular bars.
-
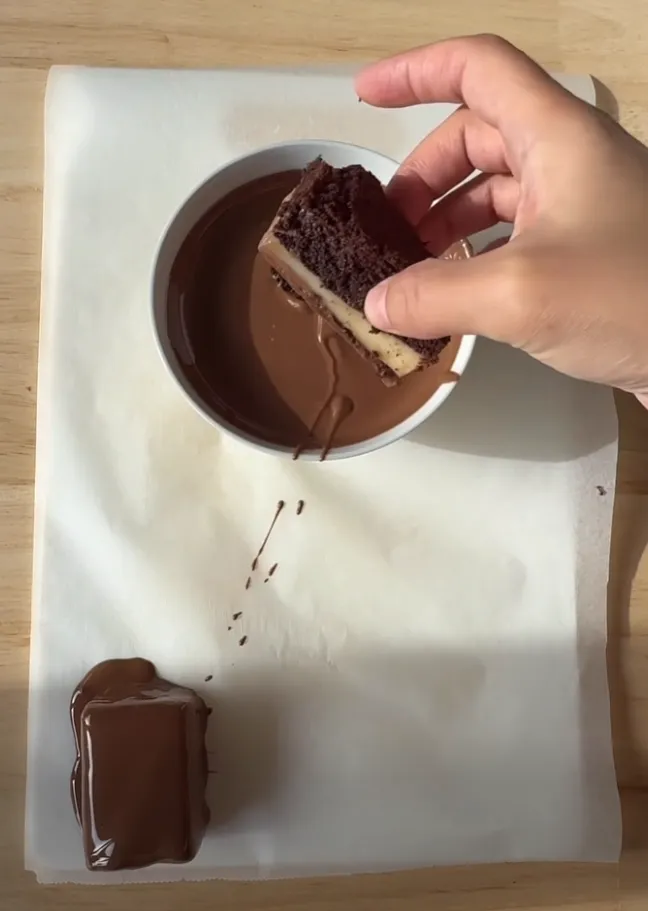
Coat in chocolate. Dip each bar into the melted milk chocolate to cover it all over, lift out with a fork letting the excess drip off, and set on parchment.

-
Drizzle and set. Once the coating has set, drizzle the bars with melted dark chocolate in fine stripes. Chill briefly to firm up, then serve.
Tips for perfect bars
Cool the sponge fully before adding the cream, or the warm cake will melt the filling and make it slide.
Stir the milk cream constantly as it cooks — cornflour thickens suddenly, and constant stirring keeps it lump-free and silky.
Chill hard before cutting. A properly cold, firm slab gives clean edges and lets you dip each bar without the layers separating.
Thin your dipping chocolate with a teaspoon of neutral oil or a little cocoa butter so it coats in a thin, even shell that sets with a snap.
Make ahead, store & freeze
Make ahead: the assembled slab can chill overnight before you cut and coat it — perfect for spreading the work over two days.
Store: keep the finished bars in an airtight container in the fridge for up to 5 days; the sponge stays soft and the cream stays cool and set.
Freeze: freeze the coated bars on a tray, then pack into a box for up to 2 months. Thaw in the fridge before serving.
Since this is a project you’ll come back to over a day or two, it’s worth printing the recipe card from the button on this page — a clean, one-page sheet of just the ingredients and steps you can keep beside the tin, with no ads or back-story to scroll past while your hands are covered in chocolate.
Easy variations
- Dark chocolate lovers: coat in dark chocolate and drizzle with milk chocolate instead.
- Hazelnut twist: add a spoon of hazelnut spread to the milk cream, or sprinkle chopped toasted hazelnuts over the wet drizzle.
- Coconut: stir desiccated coconut into the coating, or press some onto the wet chocolate.
- Quick traybake version: skip the dipping — just pour the ganache over the whole slab, chill, and cut into squares.
- More chocolate bakes: if you love a chocolate project, try our brookie muffins or these gooey thick chocolate chip cookies next.
Nutrition (per bar)
Here’s the approximate nutrition per bar, based on the slab cut into twelve. These are rich, fully chocolate-coated treats, so think of them as a generous little dessert. Values are estimates and vary with your chocolate and bar size.
| Nutrient | Per bar |
|---|---|
| Calories | ~290 |
| Carbohydrates | 31 g |
| Protein | 4 g |
| Fat | 17 g |
| Fiber | 2 g |
| Sugar | 24 g |
Nutrition note: These values are estimates calculated from the ingredients and are for general information only — not medical or dietary advice. Actual numbers vary by brand and portion. For precise data, check product labels or USDA FoodData Central, and see our disclaimer. For tips on melting and coating with chocolate, Sally’s Baking Addiction has a clear guide.
Chocolate cream snack cake bar FAQ
What are chocolate cream snack cake bars?
They’re a homemade version of the boxed chocolate snack cakes you’ll know as Kinder Délice — a soft chocolate sponge topped with a cool milk-cream filling, then fully coated in milk chocolate and finished with dark chocolate stripes. Making them from scratch means a fresher sponge, a real cream filling and far more chocolate than the shop version, all without anything you can’t pronounce.
What is the white filling made of?
It’s a simple cooked milk cream — milk, a little heavy cream, sugar and cornflour cooked on the stove until thick like pudding, then enriched with butter and vanilla. As it chills it sets into a smooth, sliceable layer that tastes like the milky centre of the original snack cake. It’s not whipped cream, so it holds its shape when you cut and coat the bars.
Why do they need to chill for so long?
Chilling is what lets you cut clean bars and dip them without everything sliding apart. The milk cream needs to set firm and the ganache needs to harden, so give the assembled tin at least 3–4 hours in the fridge, or overnight. Cold bars also dip much more neatly into the melted chocolate and the coating sets almost instantly.
Can I make them ahead and store them?
Yes — they’re a brilliant make-ahead treat. Keep the finished bars in an airtight container in the fridge for up to 5 days; the sponge stays soft and the filling stays cool and creamy. You can also freeze them once coated: freeze on a tray, then pack into a box for up to 2 months and thaw in the fridge before serving.
Do I have to coat them in chocolate?
The full chocolate coating is what makes them taste like the real snack cake, but if you want a shortcut you can simply pour the ganache over the whole slab, chill, and cut into squares — like a layered traybake — instead of dipping each bar. You’ll lose the all-over chocolate shell, but they’ll still taste wonderful with much less effort.
What chocolate works best for coating?
Use a good melting milk chocolate for that classic sweet, mellow snack-cake flavour. If you find it too sweet, mix in a little dark chocolate, or coat in dark and drizzle with milk. For the smoothest, easiest dipping, add a teaspoon of neutral oil or a little cocoa butter to the melted chocolate so it flows thinly and sets with a clean snap.
Rate this recipe
Thanks for rating! ★
Did you make these chocolate cream snack cake bars? How did they turn out?
You have already voted on this recipe.