Cheesy Garlic Bread from Scratch (Soft, Loaded & Pull-Apart)
Make cheesy garlic bread completely from scratch — a soft homemade dough spread with a rich roasted garlic herb butter and buried under melting cheese, baked until golden and pull-apart. This step-by-step guide walks you through every stage.
You know that cheesy garlic bread that arrives at the table at a good Italian place — soft and pillowy underneath, blistered and golden on top, with cheese that stretches into long ropes when you pull a piece away? You’re about to make a better one in your own kitchen, and once you have, you won’t want the cardboard supermarket version ever again. Don’t be put off that we’re making the dough from scratch, either. I’ll walk you through every step, and none of it is hard — it’s mostly the oven and a little patience doing the work for you.
Here’s the plan, so you know where you’re headed: first you’ll get a simple dough rising, then while it puffs up you’ll roast a big handful of garlic until it’s sweet and soft and mash it into a herby, cheesy butter. You’ll stretch the dough out, slather that butter over every inch, bury it under cheese, and bake it until your whole kitchen smells incredible. Then you’ll cut it into strips and watch it pull apart. Let’s get into it.

Why you’ll want to make this from scratch
The base is soft, not stale
When you make your own dough, you get a base that’s genuinely fresh — fluffy and tender inside with a lightly crisp bottom. It’s a world away from a part-baked loaf that’s been sitting on a shelf, and it’s what makes this so satisfyingly pull-apart.
Roasted garlic changes everything
You’re not rubbing harsh raw garlic over toast here. You’ll roast a whole pile of cloves until they’re soft, golden and sweet, so you can be generous with them without it ever turning bitter. This one step is the secret, and you’ll taste the difference immediately.
You control what goes on it
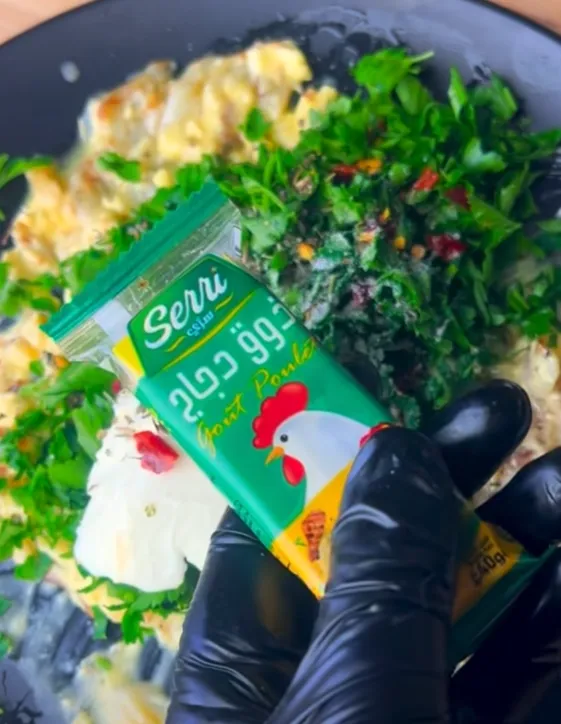
Because you’re building the butter yourself, you decide how garlicky, how cheesy and how spicy it gets. A crumbled stock cube for savoury depth, a pinch of chilli for warmth, a fistful of parsley for freshness — it’s yours to tune exactly how you like it.
Ingredients
Nothing fancy here — flour and yeast for the dough, a lot of garlic, butter and cheese for the good bit. Here’s everything you’ll need, laid out:
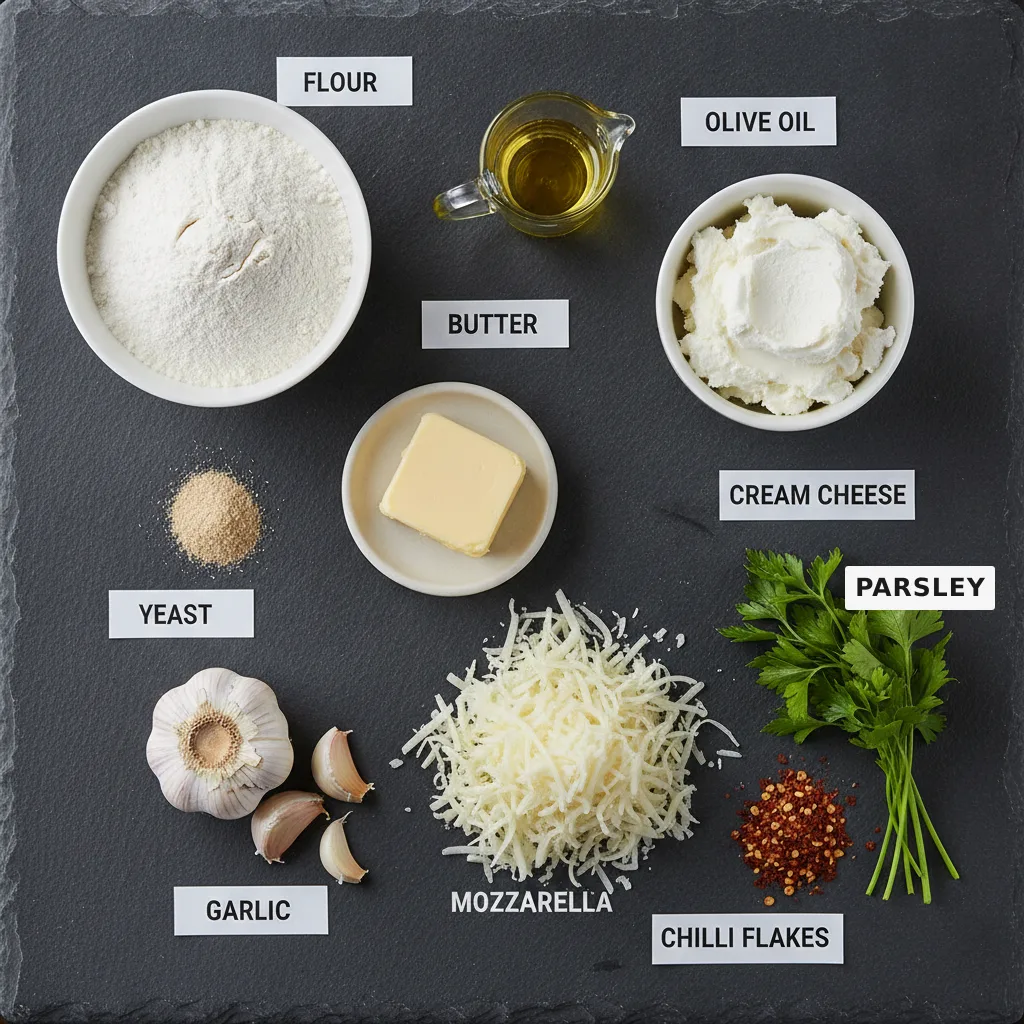
For the dough: plain flour, instant yeast, a little sugar to feed it, salt, warm water and a splash of olive oil.
For the butter: a generous amount of garlic, olive oil to roast it in, soft butter, a spoon of cream cheese, fresh parsley, chilli flakes, dried herbs and a crumbled stock cube.
To finish: plenty of grated mozzarella, or a mozzarella-and-cheddar mix.
How to make cheesy garlic bread
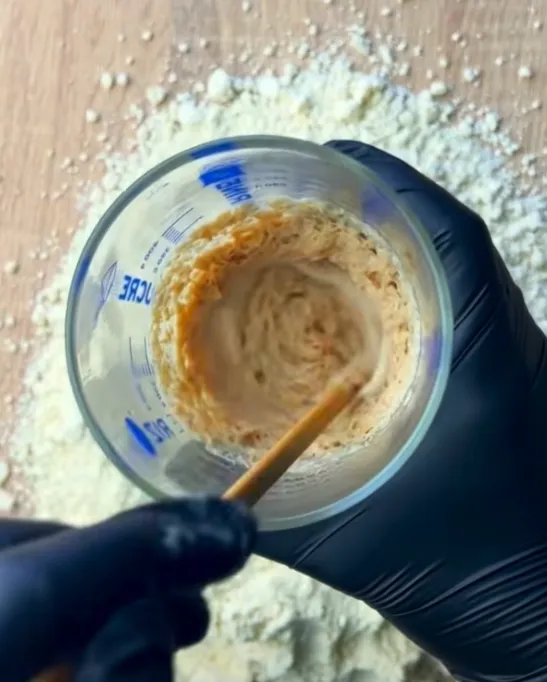
Step 1 — Wake up the yeast
Start by stirring the sugar and yeast into your warm water. The water should feel like a warm bath, not hot — too hot and you’ll kill the yeast. Leave it for 5–10 minutes and you’ll see it turn foamy and smell pleasantly bready. That froth is how you know the yeast is alive and ready.
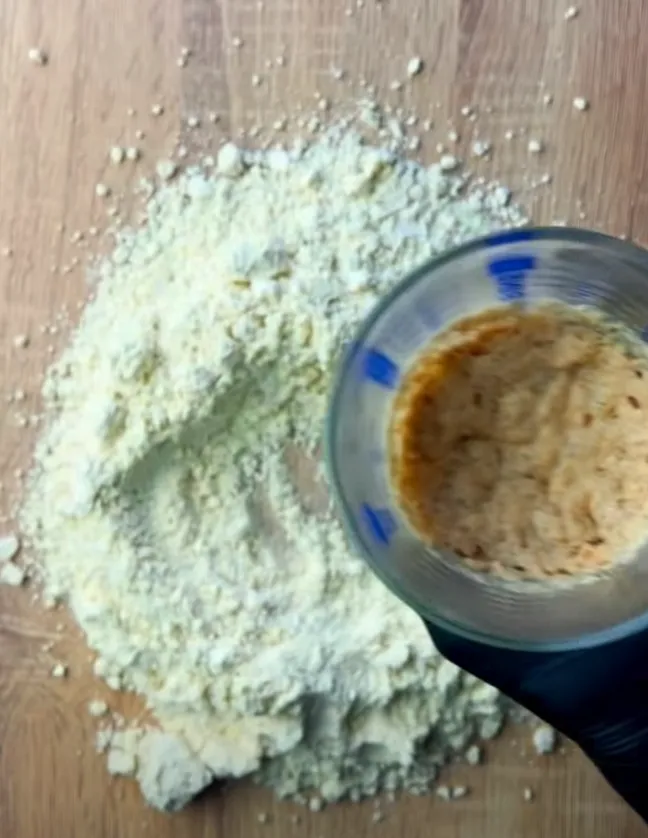
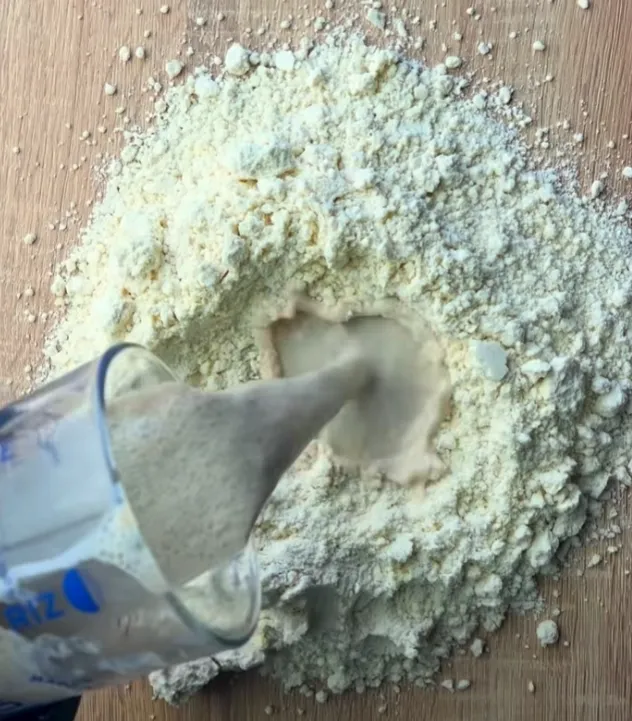
Step 2 — Make the dough
Put your flour and salt in a bowl and make a little well in the middle. Pour in the foamy yeast water and the olive oil, then bring it together with your hands. Tip it onto the worktop and knead for 5–8 minutes — push it away with the heel of your hand, fold it back, and turn. It’ll go from shaggy and sticky to smooth and springy.
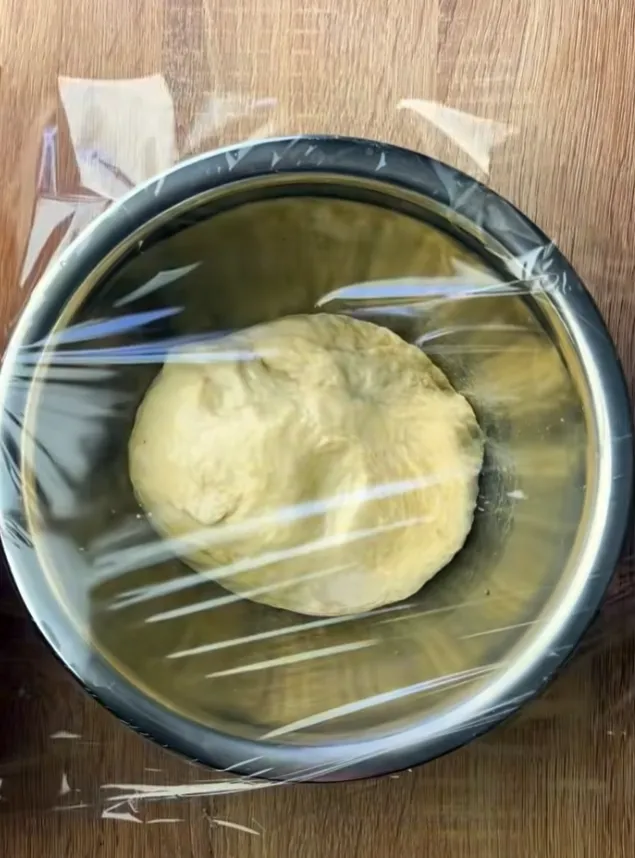
Shape it into a ball, pop it in a bowl, cover it, and leave it somewhere warm for about an hour. You want it doubled in size and pillowy when you press it.
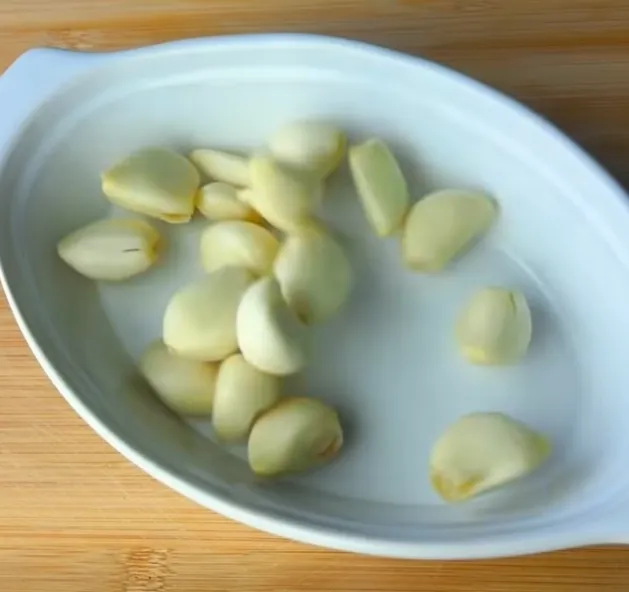
Step 3 — Roast the garlic
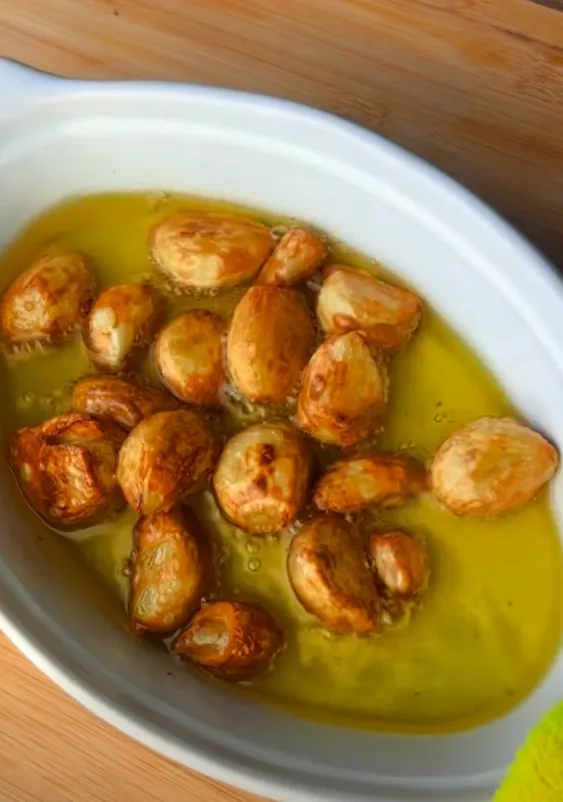
While the dough rises, deal with the garlic. Sit your peeled cloves in a small ovenproof dish and pour over enough olive oil to half-submerge them.
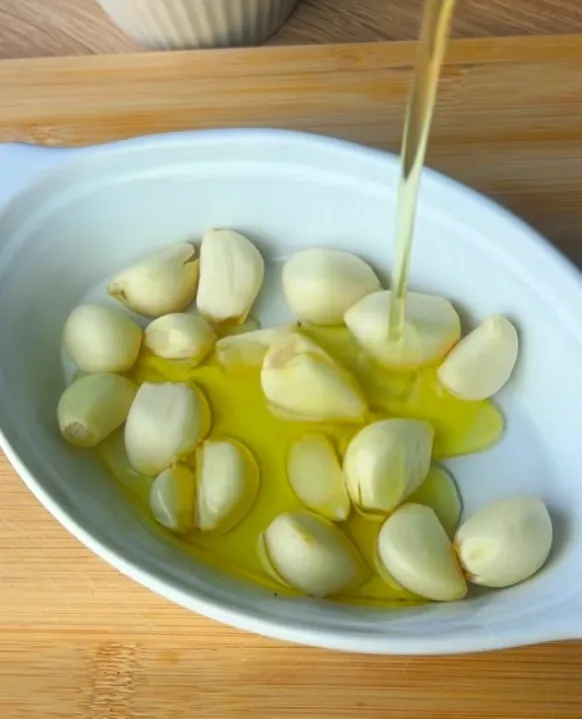
Roast at 180°C (350°F) for 25–30 minutes, until the cloves are soft enough to crush with a spoon and turning golden at the edges. Your kitchen will start smelling amazing right about now.
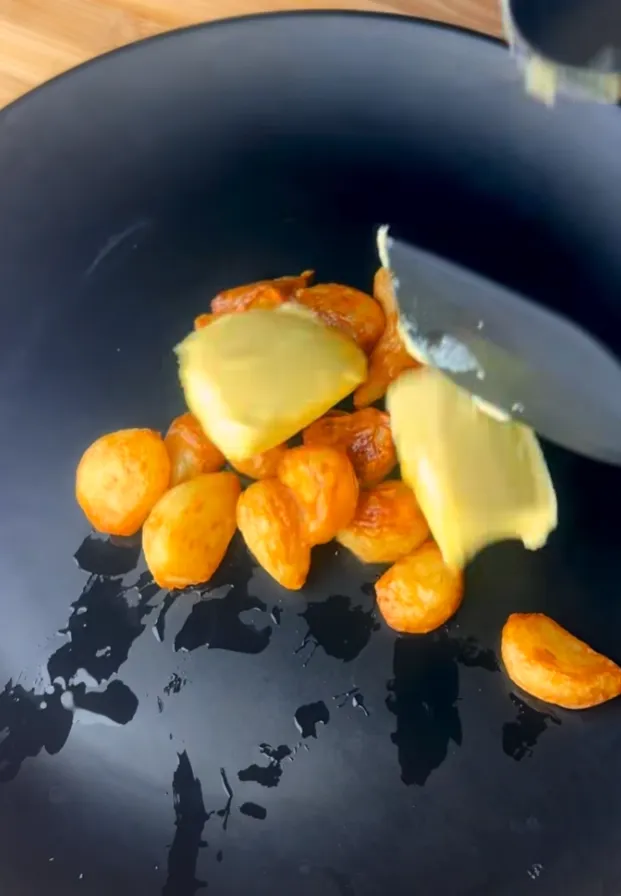
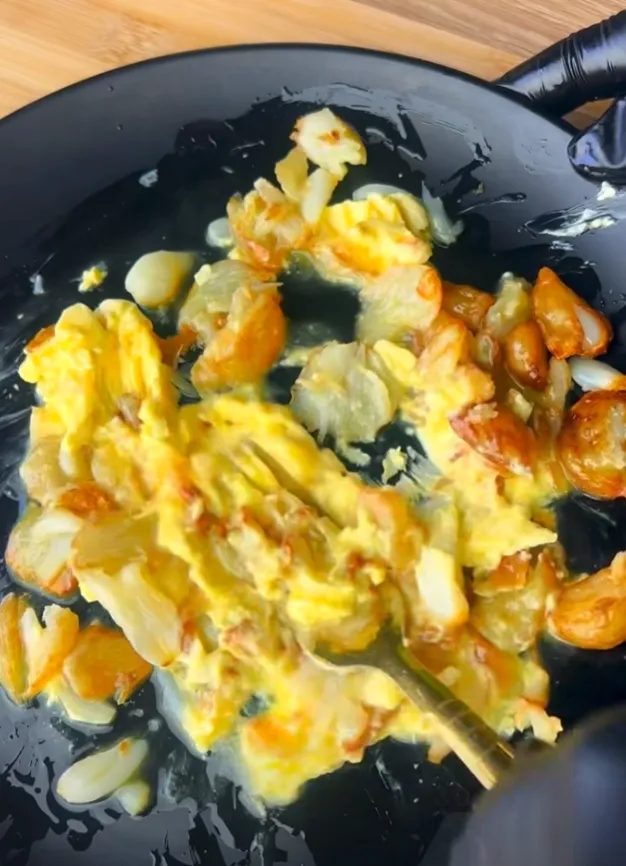
Step 4 — Mash the garlic butter
Tip the warm roasted garlic onto a plate, add your softened butter, and mash the two together with a fork. The soft cloves will break down into the butter and turn it into a rough, golden paste.
Step 5 — Build the flavour
Now make it interesting. Add the cream cheese, a big handful of chopped parsley, the chilli flakes, dried herbs and the crumbled stock cube. The cream cheese makes it rich and spreadable, the stock cube seasons it with deep savoury flavour, and the parsley keeps it fresh.
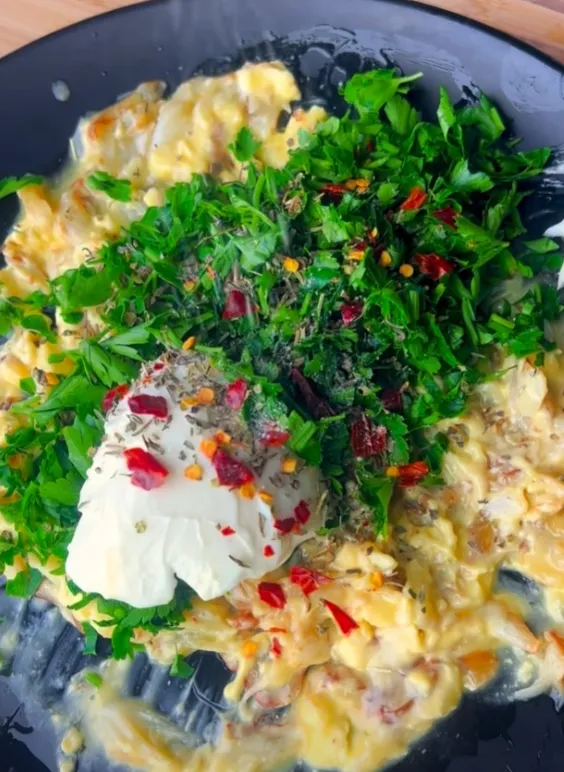
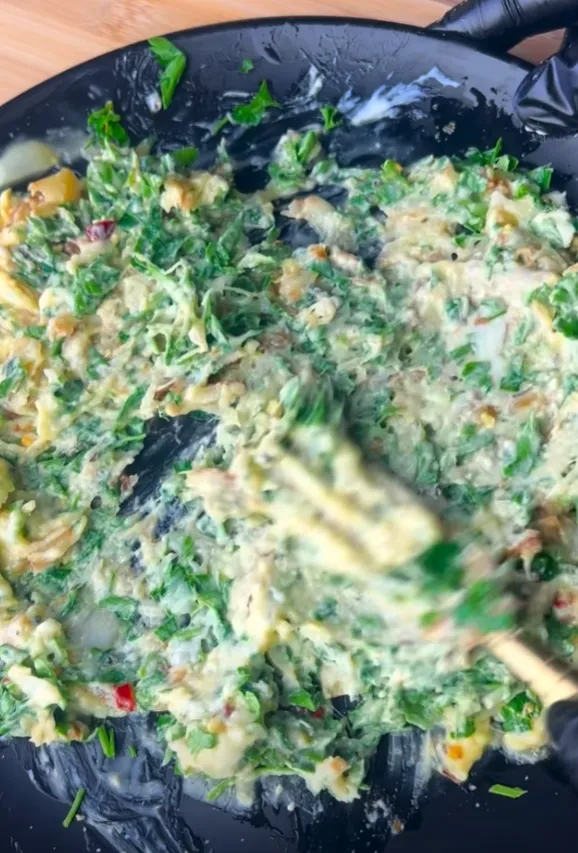
Mix it all together until you have a soft, green-flecked garlic herb butter. Have a tiny taste — this is what every bite will be built on, so adjust the salt or chilli now if you want to.
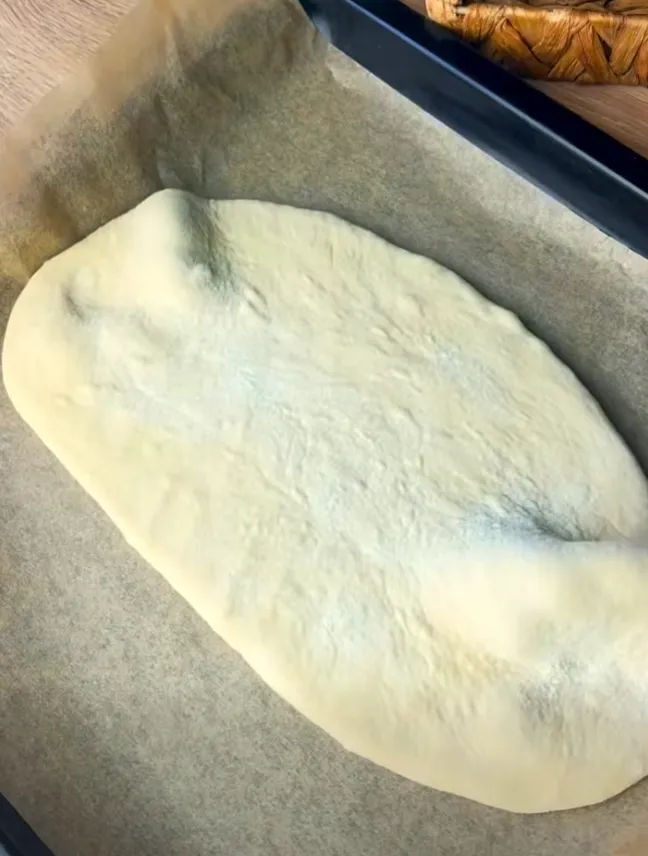
Step 6 — Shape the dough
Your dough should be doubled by now. Knock the air out of it gently, then stretch and press it out onto a lined baking tray into an oval roughly 1 cm thick. Don’t worry about a perfect shape — a rustic, hand-shaped look is exactly right here.
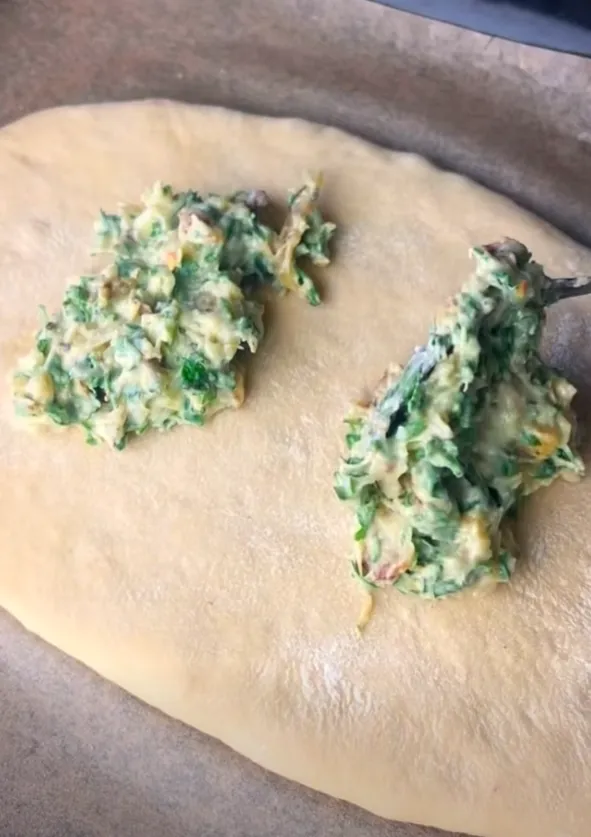
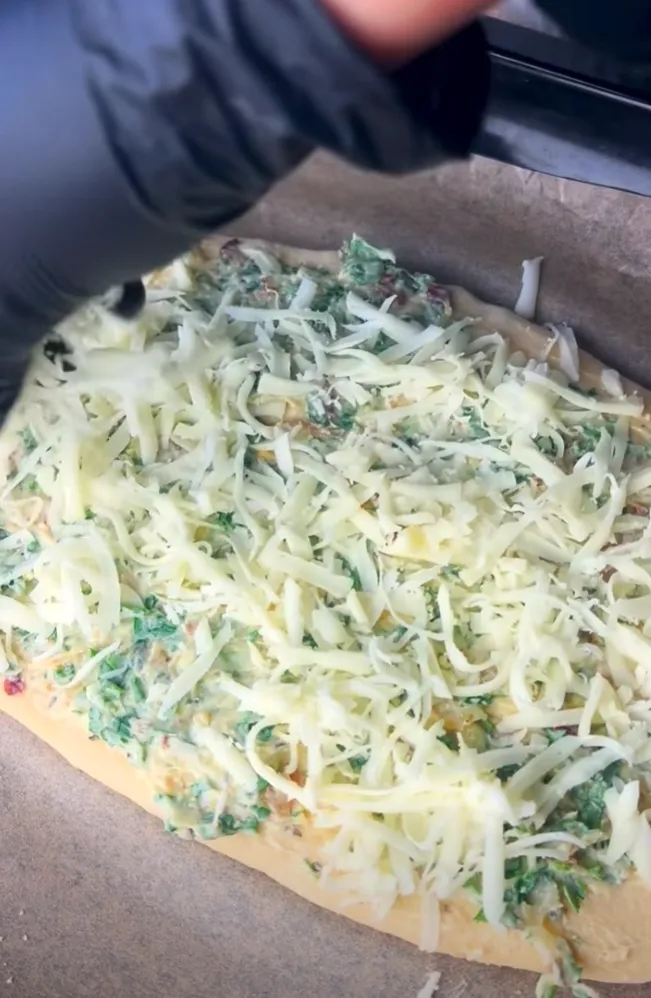
Step 7 — Load it up
Dollop the garlic herb butter all over the dough and spread it right to the edges, so every piece will be flavoured. Then pile on the grated cheese in a thick, even blanket — be generous, this is cheesy garlic bread after all.
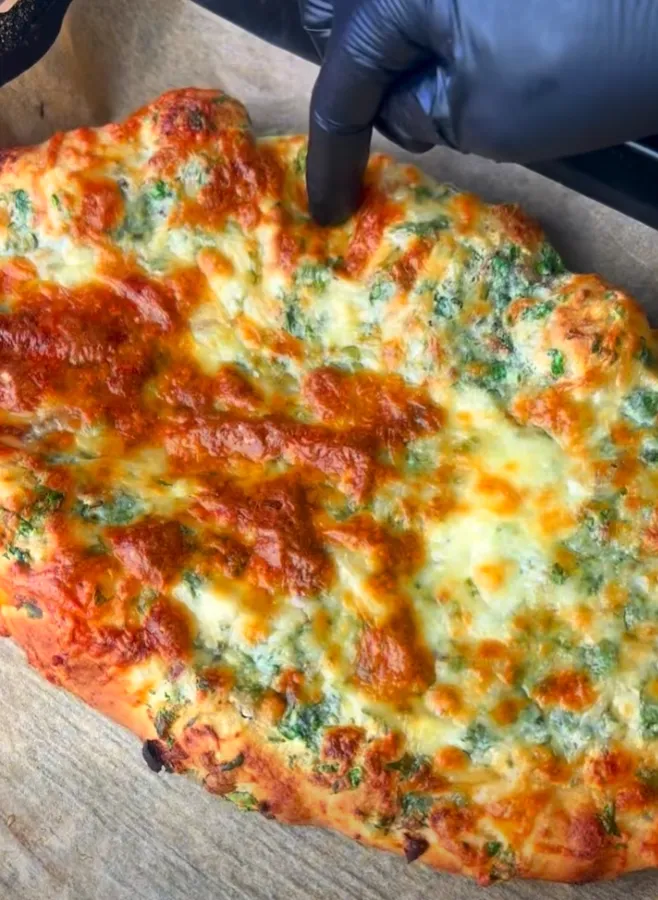
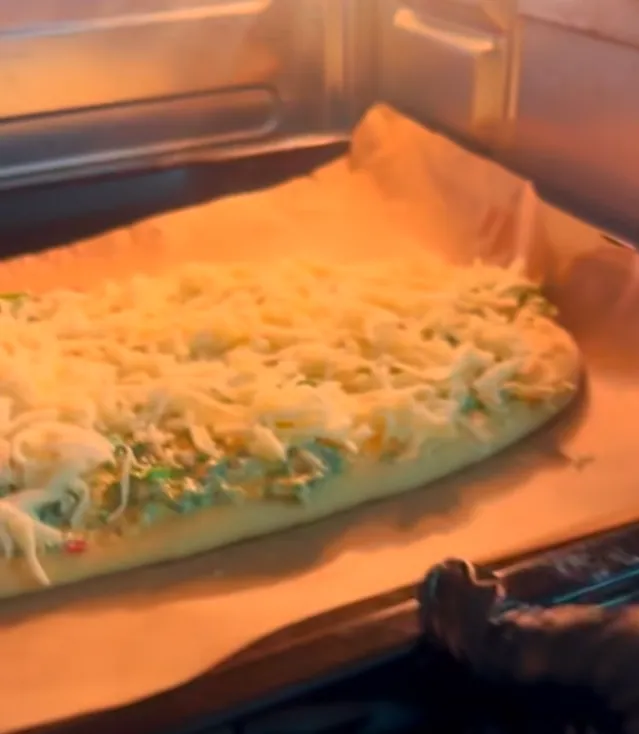
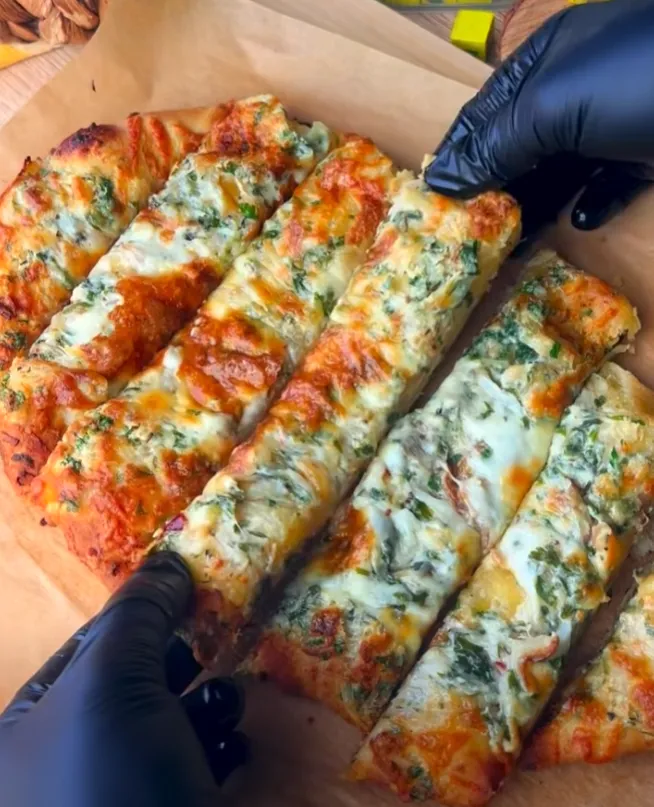
Step 8 — Bake and pull apart
Slide it into a hot oven at 200°C (400°F) and bake for 18–22 minutes, until the cheese is melted, bubbling and golden in patches and the edges are crisp. Let it sit for a minute, then cut it into strips and serve it hot, while the cheese still stretches.
Tips for the best cheesy garlic bread
Mind your water temperature: if it’s too hot it kills the yeast and your dough won’t rise. Aim for comfortably warm to the touch, and always wait for that foam before you carry on.
Be patient with the rise: a properly doubled dough is what gives you a soft, airy base. If your kitchen is cold, leave it a little longer rather than rushing it.
Save the garlic oil: the oil you roasted the garlic in is liquid gold. Brush a little over the exposed crust before baking for extra flavour and a glossy finish.
Don’t skimp on the butter spread: push it all the way to the edges so there are no plain, dry bites. Every strip should be loaded.
Keep the steps handy while you cook: there’s a fair bit of back-and-forth here between the dough, the garlic and the butter, so it helps to have the method in front of you instead of scrolling with buttery hands. Hit the print button on this page for a clean one-page recipe card to keep on the worktop — it’s free and there’s no sign-up.
Make it your own
- Different cheeses: stir grated parmesan into the mozzarella, or add a little mature cheddar for a sharper, tangier pull.
- Stuff it: press cubes of mozzarella into the dough before adding the butter for molten cheesy pockets inside.
- Herby crust: scatter extra parsley and a little flaky salt over the top the moment it comes out of the oven.
- Make it a meal: serve it alongside a bowl of pasta — it’s the perfect partner for our creamy one pot spicy garlic parmesan pasta or a spicy bowl of chili garlic ramen.
- More cheesy comfort: if crispy, cheesy and garlicky is your thing, try our garlic parmesan hashbrowns next.
Nutrition (per serving)
Here’s the approximate nutrition per serving, based on cutting the bread into six strips. It’s a rich, cheesy treat, so the numbers reflect the butter and cheese. Values are estimates and vary with your brand of cheese and how generously you load it.
| Nutrient | Per serving |
|---|---|
| Calories | ~290 |
| Carbohydrates | 32 g |
| Protein | 10 g |
| Fat | 14 g |
| Fiber | 2 g |
| Sugar | 2 g |
| Sodium | Medium–High |
Nutrition note: These values are estimates calculated from the ingredients and are for general information only — not medical or dietary advice. Actual numbers vary by brand and portion. For precise data, check product labels or USDA FoodData Central, and see our disclaimer. For a little background, Healthline has a good overview of garlic.
Cheesy garlic bread FAQ
Can I make cheesy garlic bread without making the dough?
Absolutely — the roasted garlic herb butter is the real star, and it works on any bread. Split a baguette, ciabatta or a few thick slices of sourdough, spread the butter on generously, top with the grated cheese and bake at 200°C (400°F) for 8–10 minutes until melted and golden. Making the dough from scratch gives you that soft, fluffy pull-apart base, but a shop-bought loaf turns this into a 15-minute job.
Why do you roast the garlic instead of using it raw?
Roasting transforms it. Raw garlic in this quantity would be harsh and sharp, but gently cooked in oil the cloves turn soft, sweet and mellow, almost caramel-like, so you can use a lot of it without it being overpowering. It’s the single step that takes this from ordinary garlic bread to something people ask you about. Don’t throw away the garlic-infused oil either — brush a little over the crust before baking.
What cheese melts best on garlic bread?
Low-moisture mozzarella is the classic choice because it melts into those long, stretchy pulls. For more flavour, mix it with a sharp cheddar, or add a little grated parmesan for a salty, savoury edge. The goal is a blend that both melts smoothly and tastes of something — all mozzarella looks spectacular but can be mild, so a handful of cheddar in the mix is never a bad idea.
Can I make it ahead or freeze it?
Yes. The garlic herb butter keeps in the fridge for up to a week, so you can make it days ahead. You can also assemble the whole thing — dough, butter and cheese — cover it and refrigerate for a few hours before baking. To freeze, bake it, cool completely, then wrap and freeze for up to a month; reheat in a hot oven straight from frozen until the cheese is bubbling again.
Do I have to add the stock cube and chilli flakes?
No, but they’re what give this version its moreish, savoury depth. The crumbled stock cube seasons the butter with a hit of umami so every bite tastes rich and full, while the chilli flakes add a gentle background warmth rather than real heat. Leave the chilli out for the kids if you like, and swap the stock cube for a good pinch of salt and a little garlic granules if you’d rather.
Rate this recipe
Thanks for rating! ★
Did you make this cheesy garlic bread? How did it turn out?
You have already voted on this recipe.